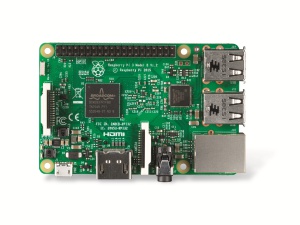
I recently got a Raspberry-Pi 3 Model B as a development platform for Internet-Of-Things projects. The very first task was to give it an adequate housing, so I decided to put it into an Altoids tin.


tools used:
- sticky-tape
- permanent marker
- opinel no8 carbon steel knife
- sandpaper
I transfered the shapes and locations of the Pi´s plugs onto the sticky tape via the marker.
The tape was put on the Aldoids tin afterwards and the shape was cut out with the Opinel knife. Although the Opinel did the job quite well maybe I should just use a dremel next time.

![]() Well, actually it turned out the PCB was a bit too large to fit in the Altoids so I sanded down the edges of the PCB almost up to the screwholes. Of cause you have to pay attention not to destroy any circuits or components.
Well, actually it turned out the PCB was a bit too large to fit in the Altoids so I sanded down the edges of the PCB almost up to the screwholes. Of cause you have to pay attention not to destroy any circuits or components.
To isolate the board from the metal case to prevent shortening components I put a plastic card at the bottom of the tin.


